There are two kinds of graphics :
1) RASTER BASED – Based on pixels.
2) VECTOR BASED – Based on lines/perfect clarity on zooming.
-> Illustrator is vector based while Photoshop is a raster based.
We learnt about various formats like PNG, GIF, etc.
1) PNG – supports transparency
2) GIF – creates animation
-> works with flat coloured drawings i.e, does not support high gradient colours.
ILLUSTRATOR
SHORT CUT KEYS :-
- ctrl + N – New document
- ctrl + A – select all
- ctrl + D – repeat the last operation
- alt + shift + click & drag – create a duplicate object
- ctrl + ‘+’ – zoom in
- ctrl + ‘-‘ – zoom out
- ctrl + F – paste an object exactly in front of it
- ctrl + B – paste an object exactly behind it
- space + click & drag – move the art board
- shift + alt +click & drag – to create a shape at the centre
- shift + click & drag – to create a perfect shape
- ctrl + R – ruler
ALIGNMENT OF OBJECTS :-
- Align to Selection
- Align to Object
- Align to Art board
Steps to open align window :
- Window
- Align
ALIGN TO ART BOARD –
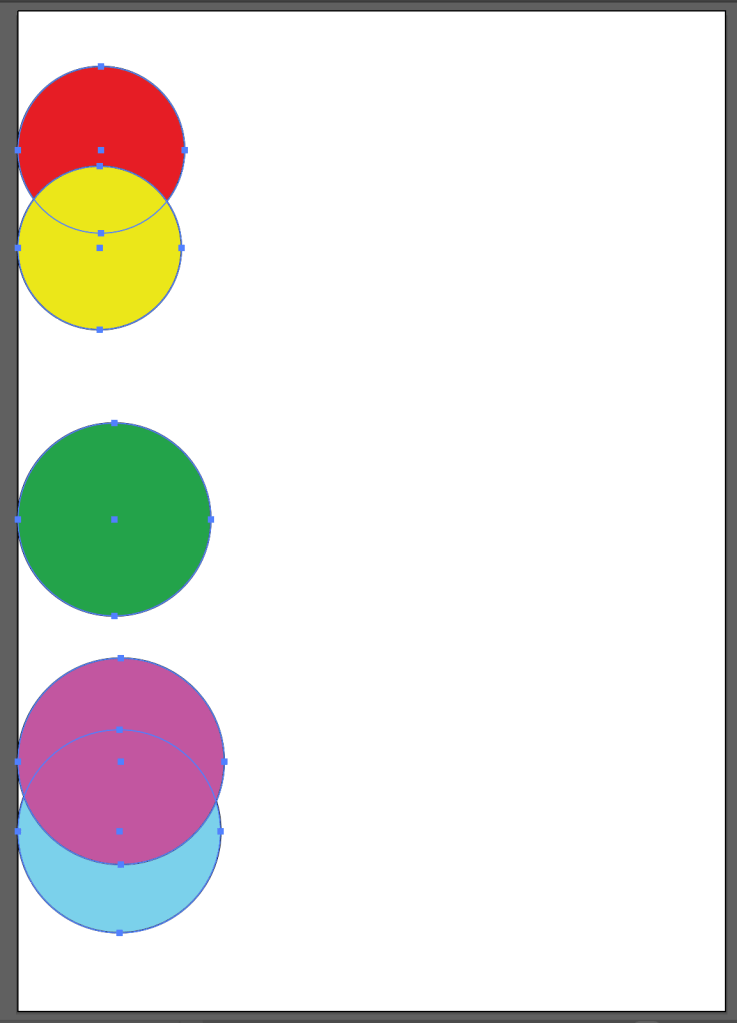
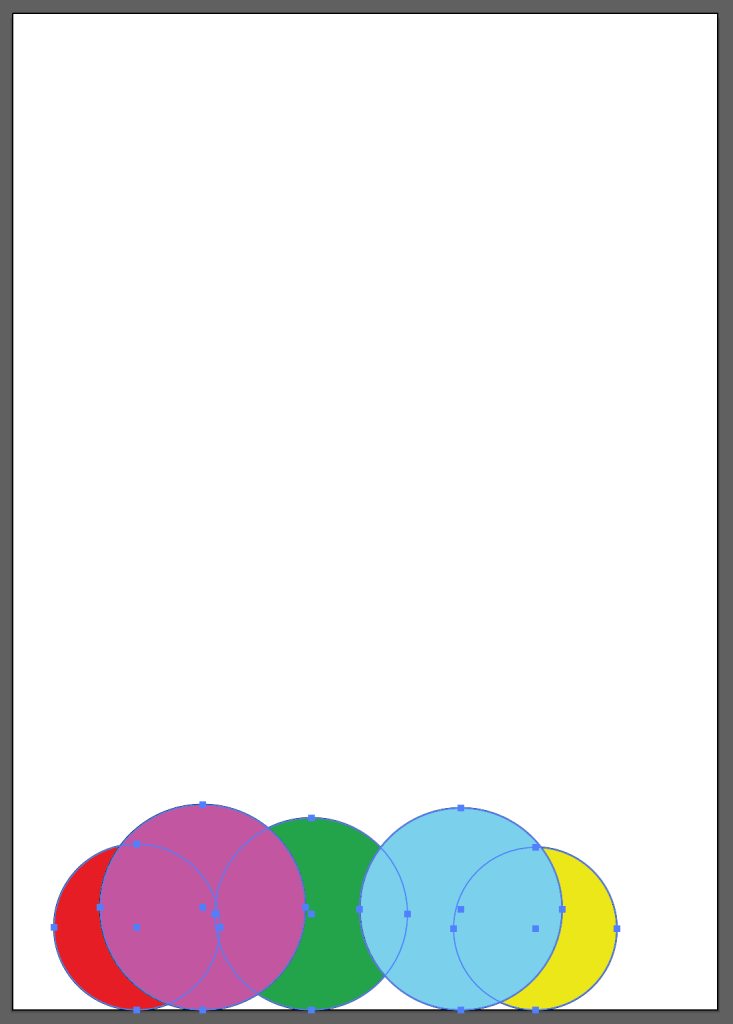
Suppose, following is the arrangement of your objects :

Now, to align them in a certain manner:
1) Select the mode ALIGN TO ART BOARD
2) Select each object
3) Start aligning as following, from the align window:

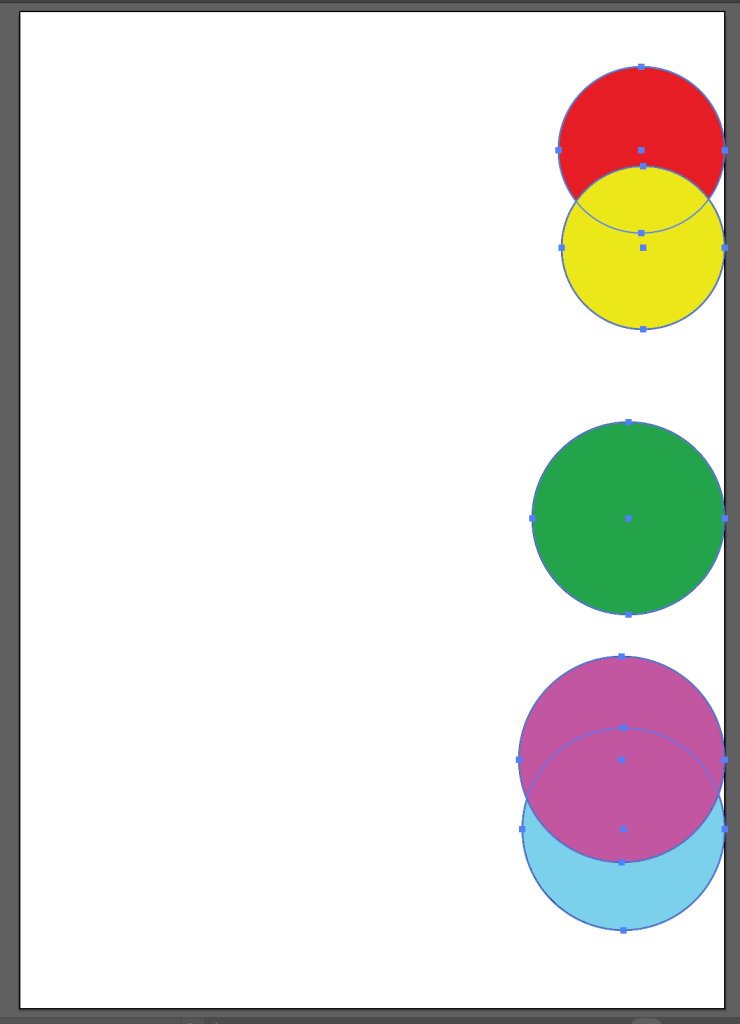
Horizontal align left – All the objects will be aligned at the left side of the art board
Horizontal align right – All the objects will be aligned at the right side of the art board
Horizontal align centre – All the objects will be aligned at the centre of the art board
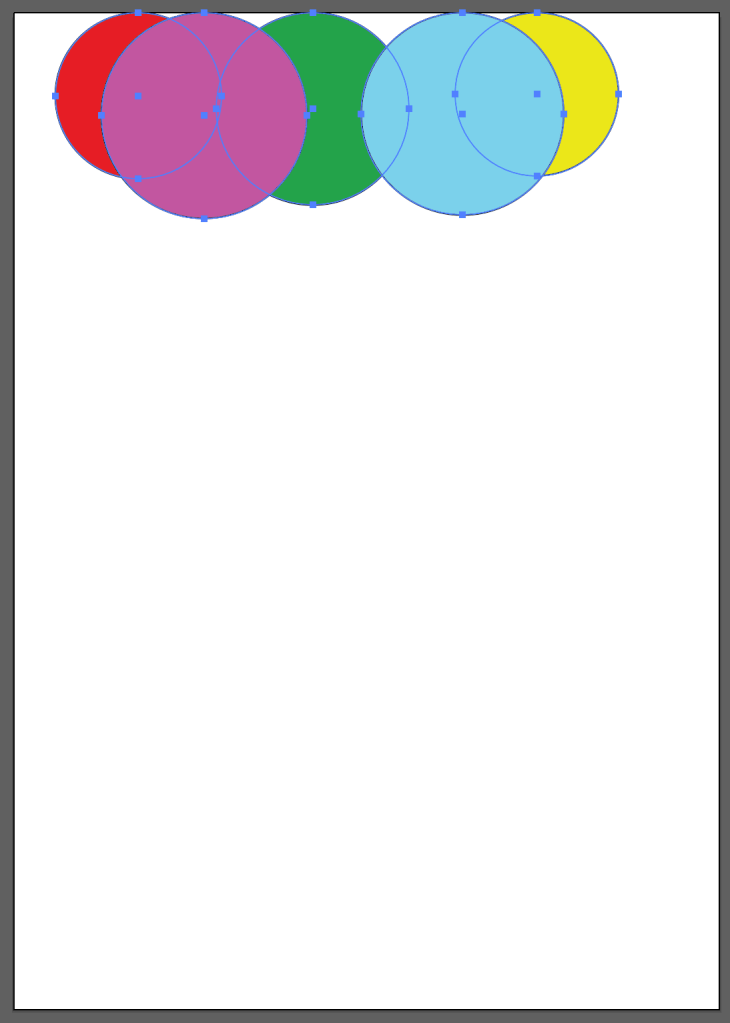
Vertical align top – All the objects will be aligned at the top of the art board
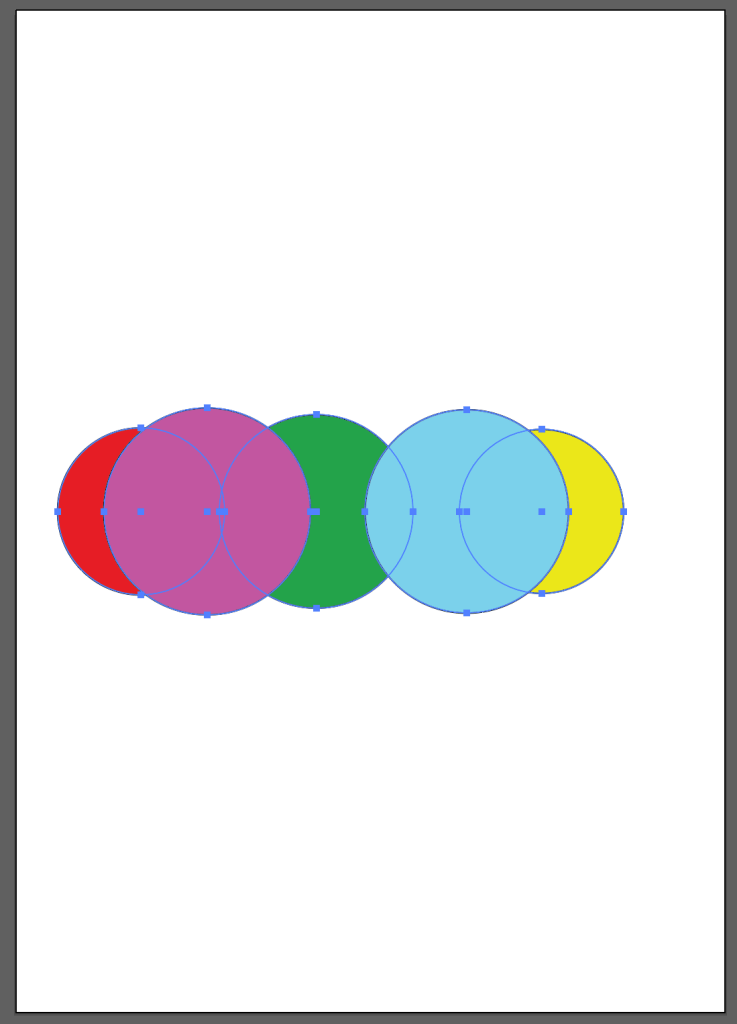
Vertical align centre – All the objects will be aligned at the centre of the art board
Vertical align bottom – All the objects will be aligned at the bottom of the art board
ALIGN TO SELECTION–
Suppose, following is the arrangement of the objects :

To align them in a certain manner :
1) change the mode to ALIGN TO SELECTION
2) Select each object
3) Alignment goes as following:
Horizontal align left – All the objects will be aligned in a row of left most object
Horizontal align centre – All the objects will be aligned in a row of centre object
Horizontal align right – All the objects will be aligned in a row of right most object
Vertical align top – All the objects will be aligned in a column of top most object
Vertical align centre – All the objects will be aligned in a column of centre object
Vertical align bottom – All the objects will be aligned in a column of bottom most object
PATHFINDER :-
Steps to open Pathfinder window :
- Window
- Pathfinder
If following is the alignment of 2 objects,

Pathfinder helps to:
- UNITE : unites the 2 objects

- MINUS FRONT : deletes the object in front

- INTERSECT : only the common part comes to view and deletes rest of the parts

- EXCLUDE : deletes the common part

Similarly, it also helps to divide, merge, trim, crop, outline and minus back.
Applications of pathfinder :