PHOTOSHOP
Just like the page in illustrator is called an art board, it is a Canvas in photoshop.
SHORT CUT KEYS :-
- ctrl + N – New canvas
- ctrl + shift + N – New layer
- ctrl + A – select all
- ctrl + D – deselection
- ctrl + H – hide selection
- ctrl + alt + H – hidden selection comes back
- ctrl + J – crop
- ctrl + T – transform
- alt + click & drag – creates a duplicate object/to create a perfect shape.
- ctrl + shift + I – inverse selection
- } – increase brush size
- { – decrease brush size
- ctrl + G – group all selected layers
- D – default colour
- X – colours swap
- alt + delete – fills in the foreground colour
- ctrl + delete – fills in the background colour
TOOLS
- Move tool – used to move the selected part on the canvas.
- Marquee tool –
- Rectangular Marquee tool – selects a rectangular section
- Elliptical Marquee tool – selects an elliptical area.
- -> We can add, subtract or intersect a new selection with the older one.
- Lasso tools –
- Lasso tool – used to crop an image, or a path and is free handed.
- Polygon lasso tool – this tool has the same function as lasso tool, but it is geometrical and not free handed.
- Magnetic lasso tool – you can crop an image without lifting your finger using this tool.
- Selection tools –
- Quick selection tool – with this tool, you just have to move your cursor on the area you want to get selected
- Magic wand tool – this tool recognises the colour that is selected, and selects only that colour on the canvas.
Image size – size of the image
Canvas size – size of the background/canvas
You can change these sizes anytime :-
Image window -> image size/canvas size.
To copy an image from one canvas to another –
- Use copy paste method (ctrl + C/ctrl + V)
- Use move tool, and drag the object to the other canvas.
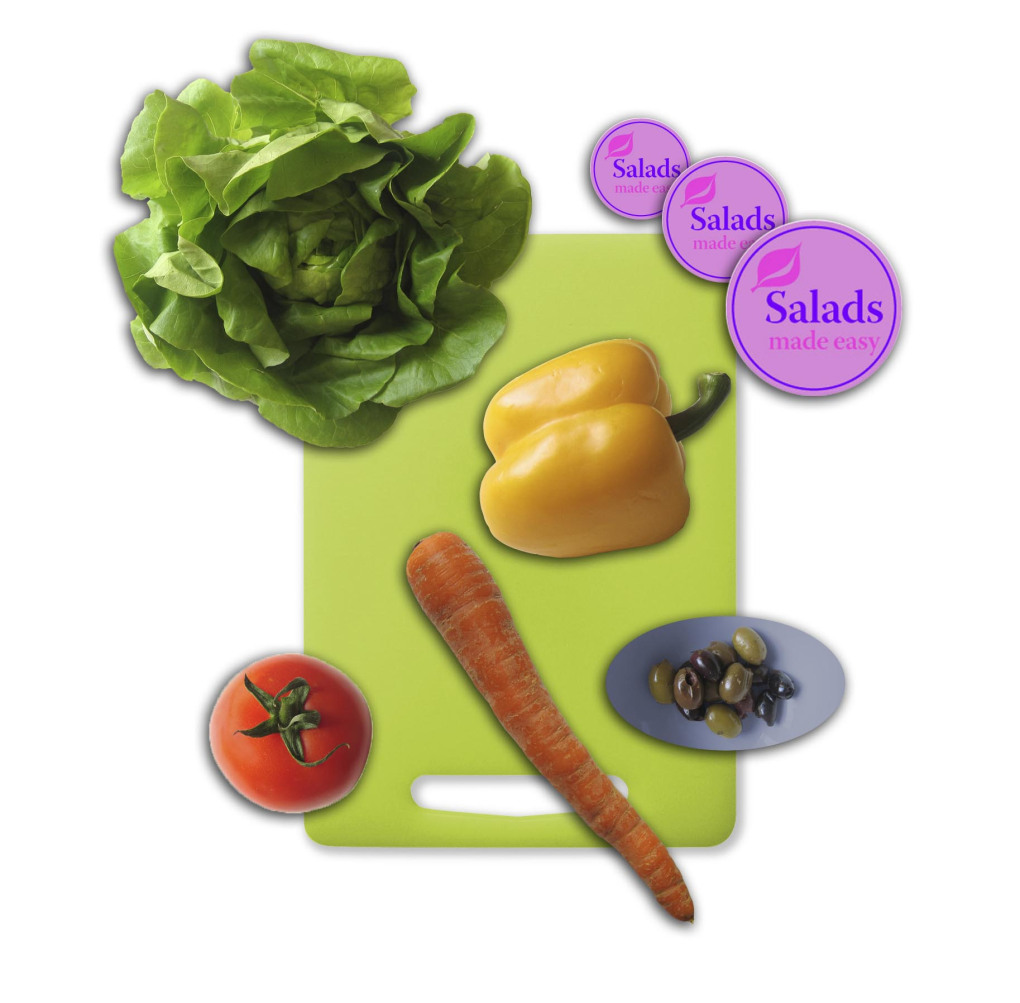
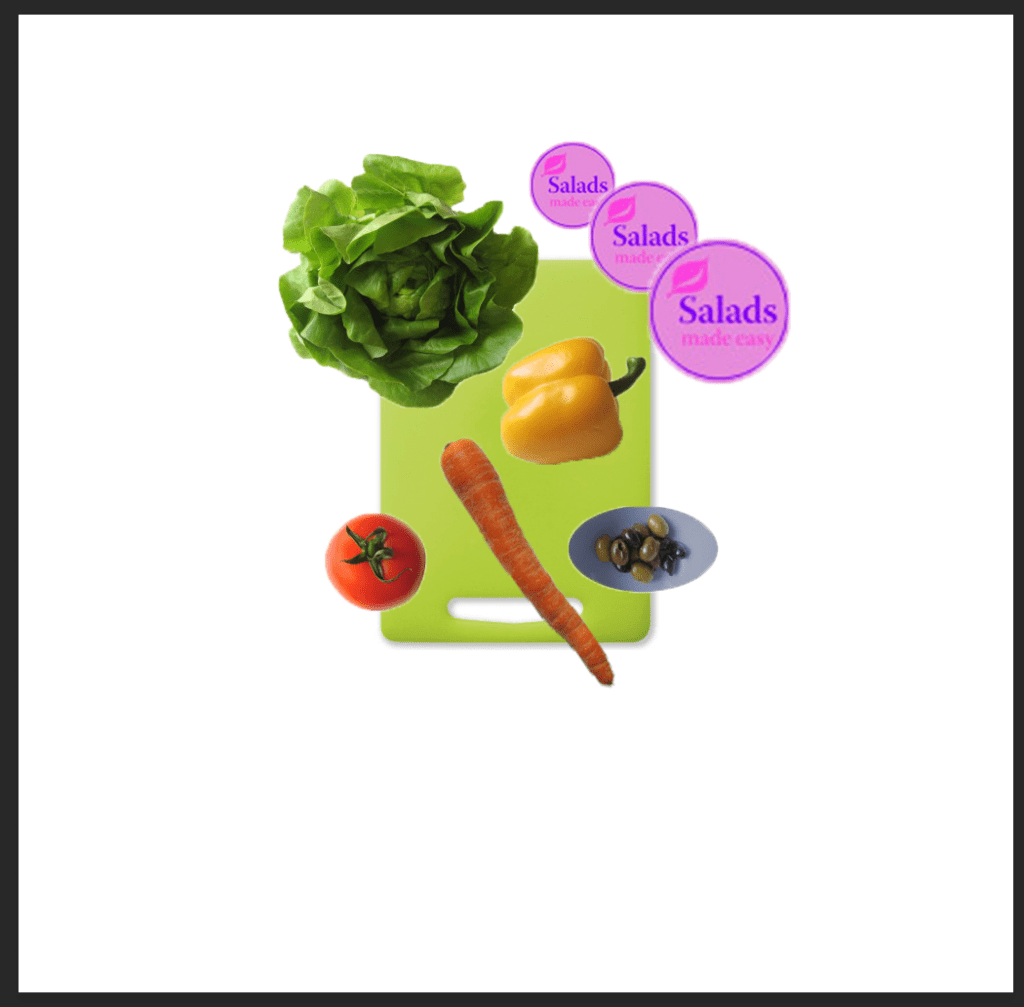
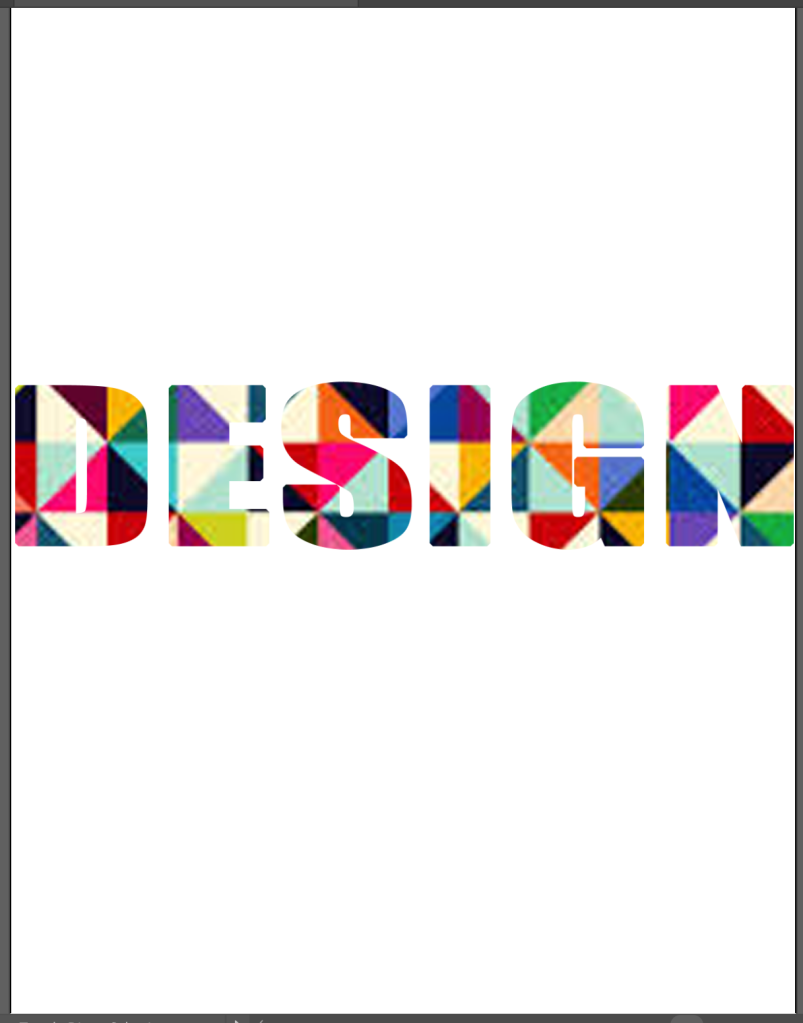
Using the above stated selection tools we were asked to design the following poster.
MASKING
Masking is a technique which merges 2 layers, and acquires the shape of bottom most/base layer, and design of top layer.
-> SHAPE – Base layer
-> PATTERN – Top layer
Then after applying mask :-
TYPES OF MASKING
- Clip mask
- Layer mask
- Greyscale mask
- Channel mask
- Quick mask
- Vector mask
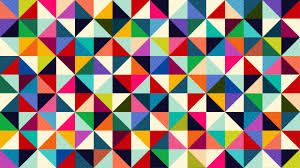
1) CLIP MASK
To add a clipping mask on 2 layers – place the cursor between the 2 layers, then alt + click. (same process goes to unclip)
-> Class assignment –
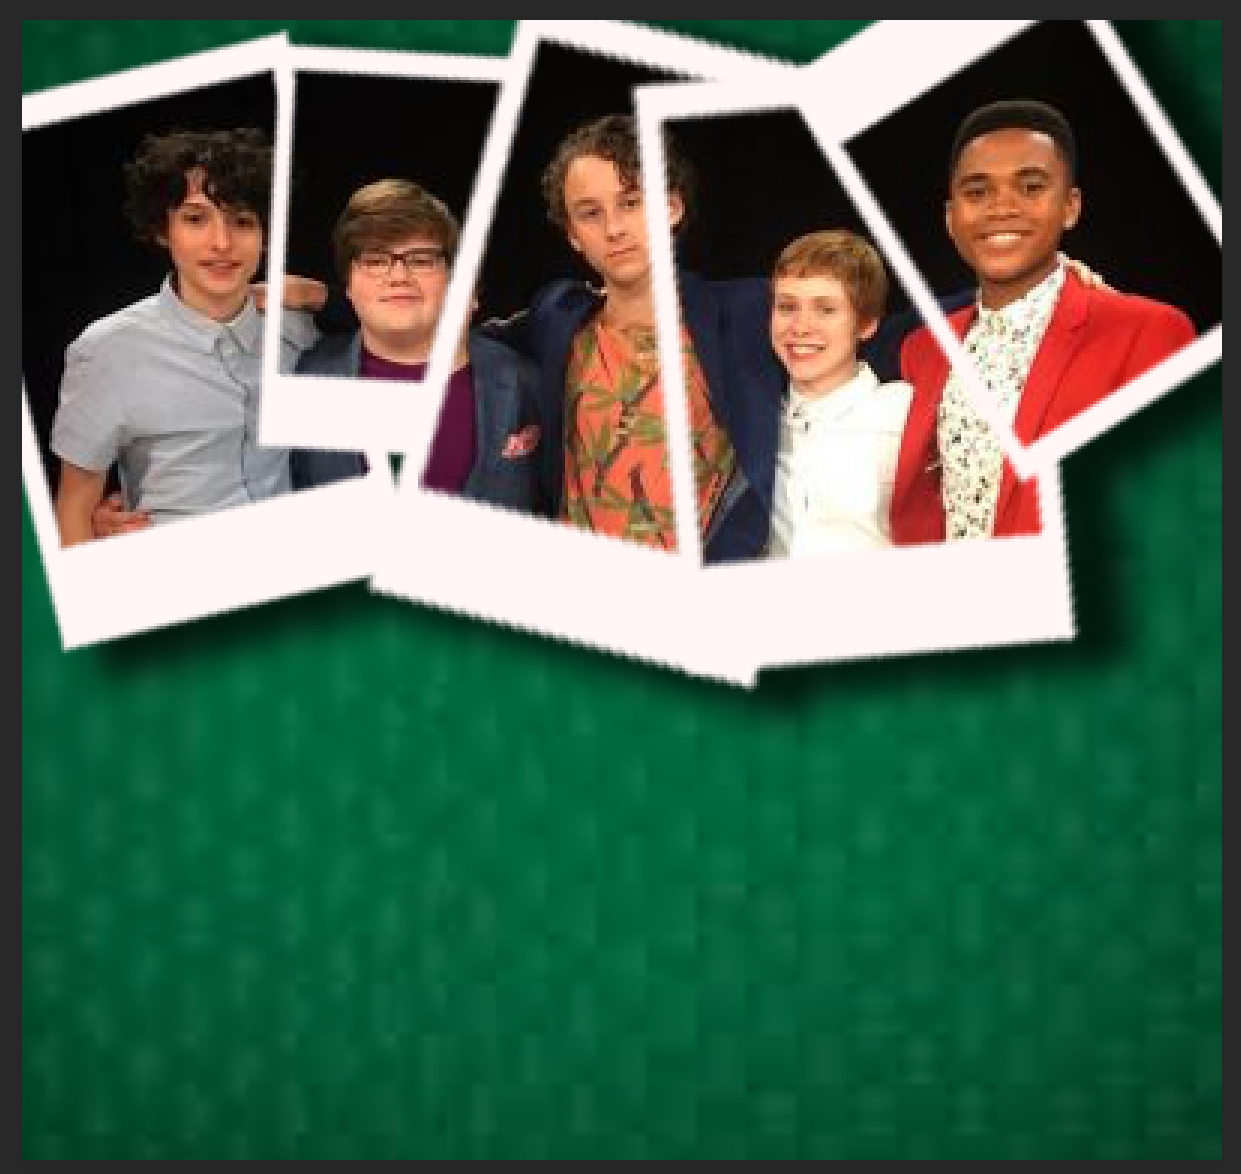
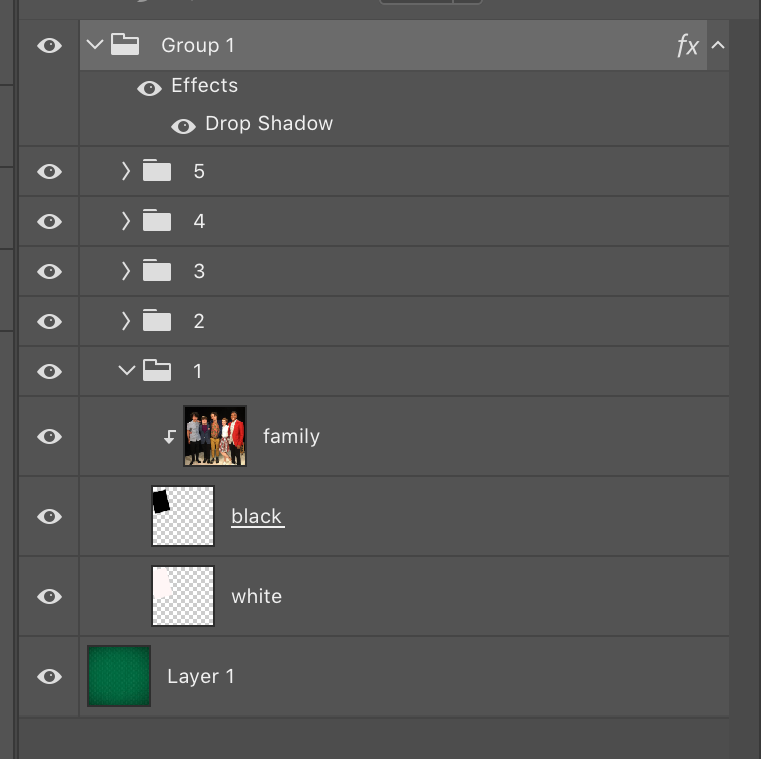
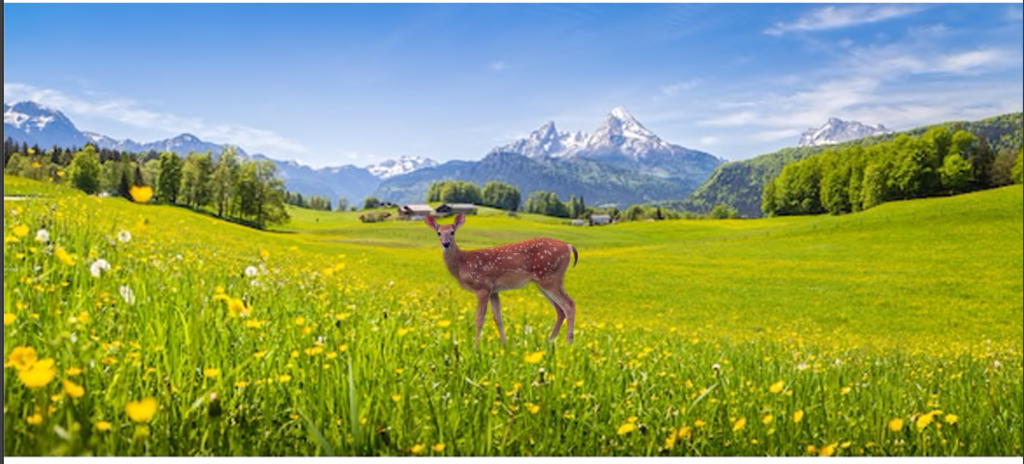
2) LAYER MASK
Layer mask helps us add an image to another image, and makes it look real.
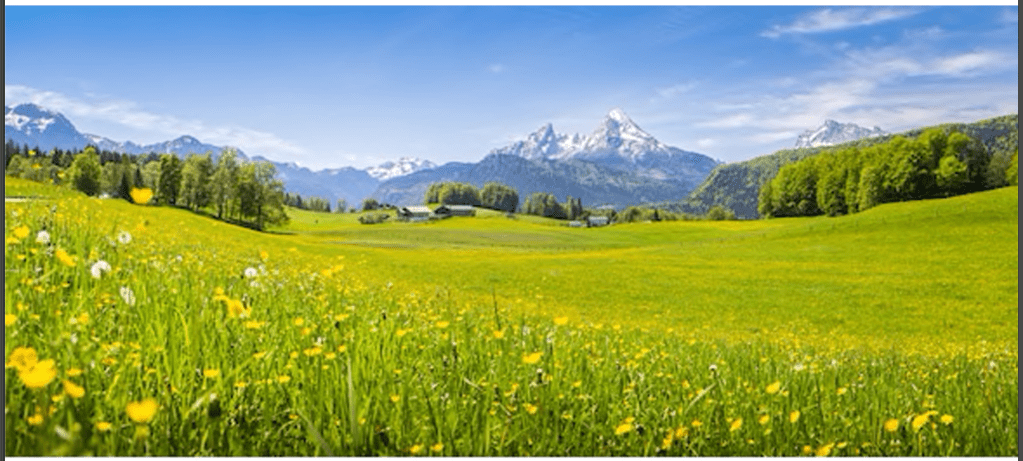
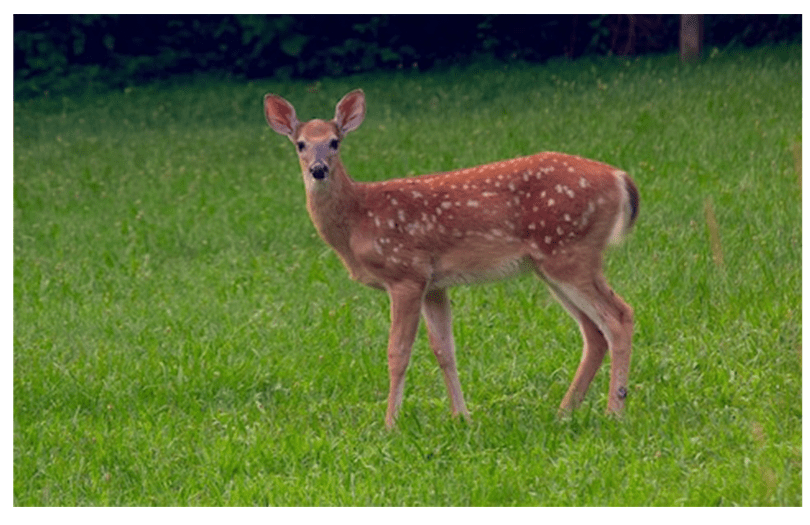
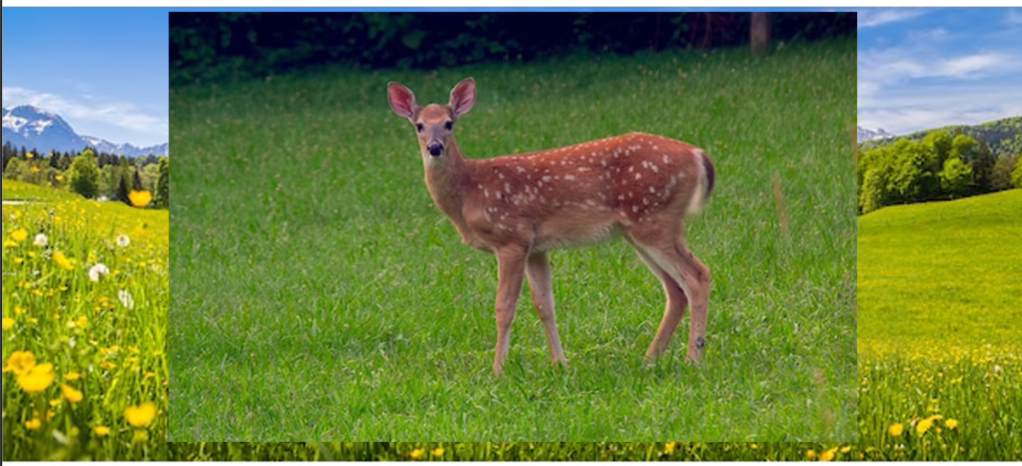
Then, use brush and select black colour, to erase the background of the deer image.
BLACK -> to erase
WHITE -> to reveal