
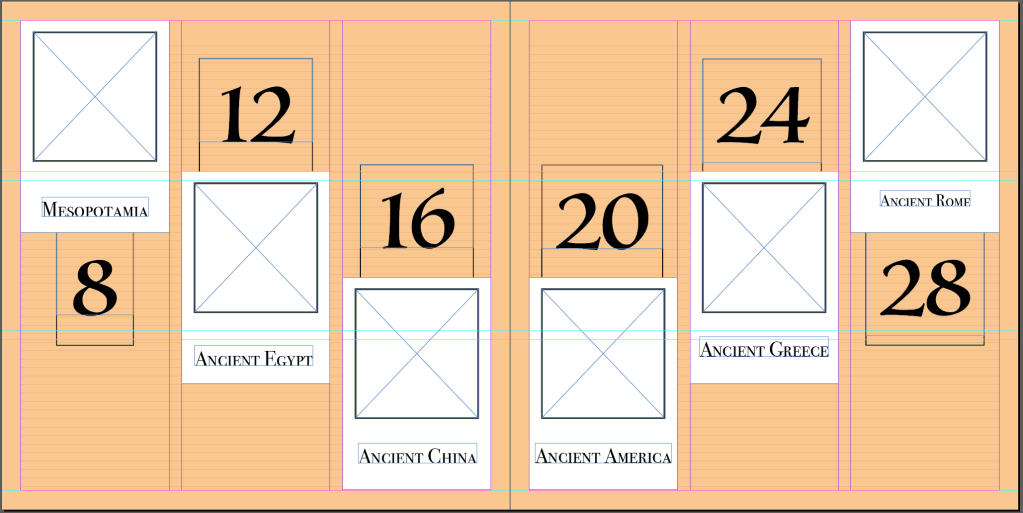
Final Index Page :-
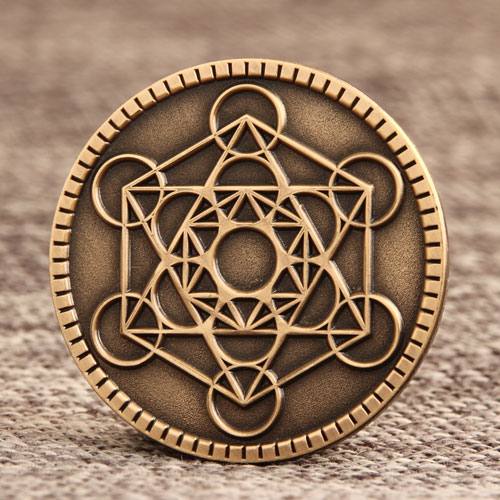
Since we had to put some illustration in bookmark, I decided to design an icon for my book which will be common in almost all the pages, so that the book is linked with different sections.
Icons
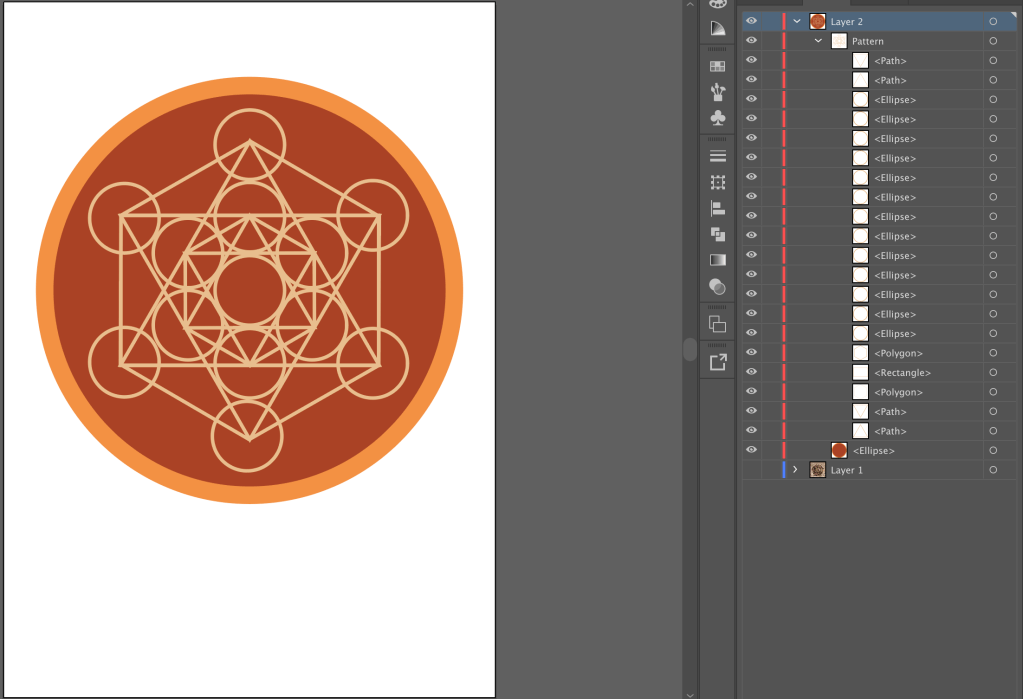
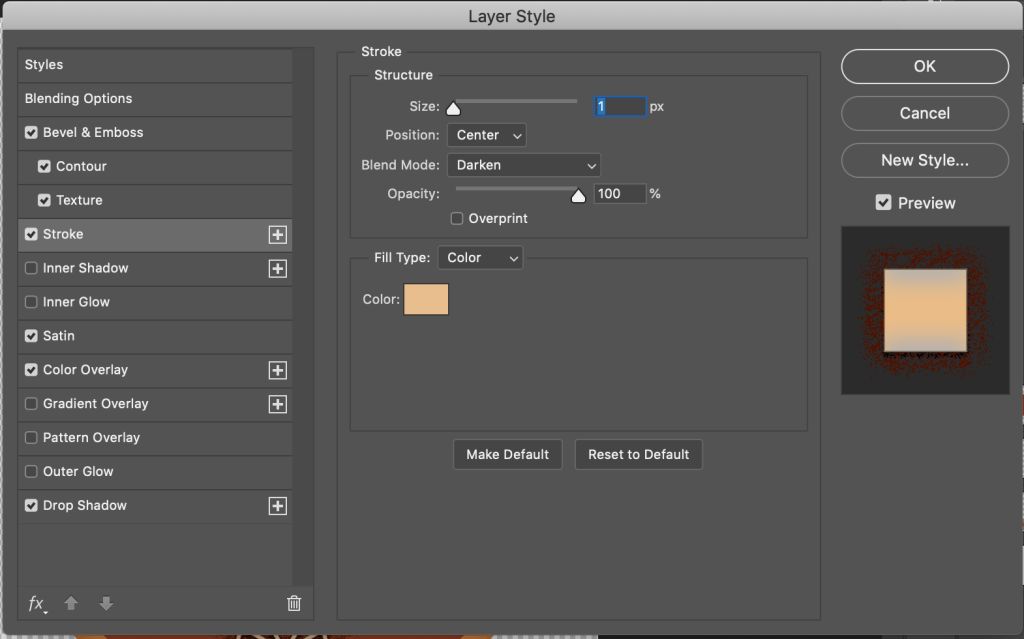
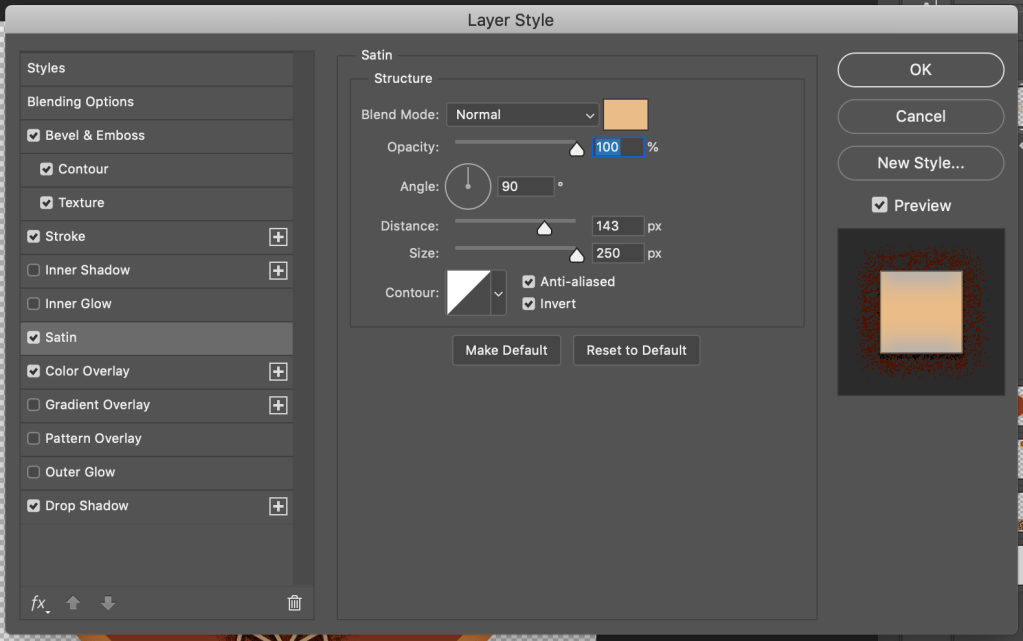
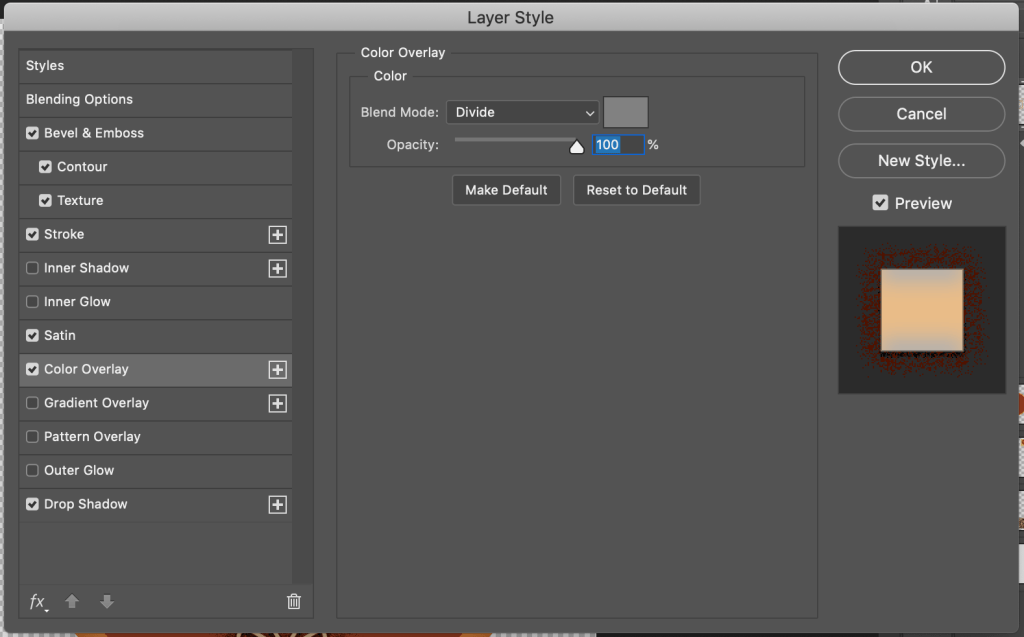
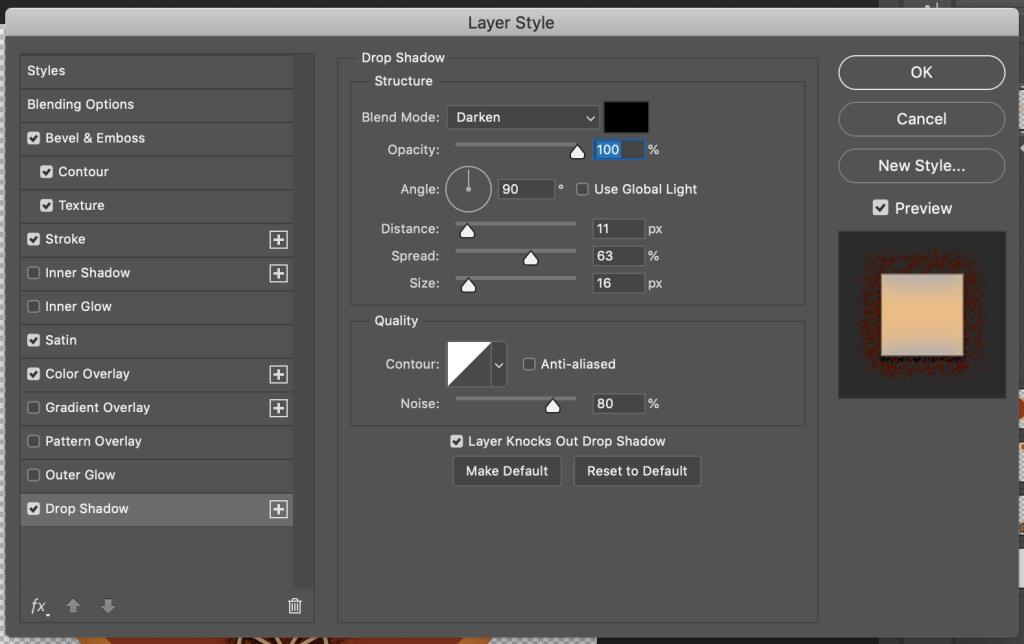
Firstly, I created the outline of it on Illustrator, and then incorporated the requires effects on Photoshop.
Follows the colour scheme of my book.
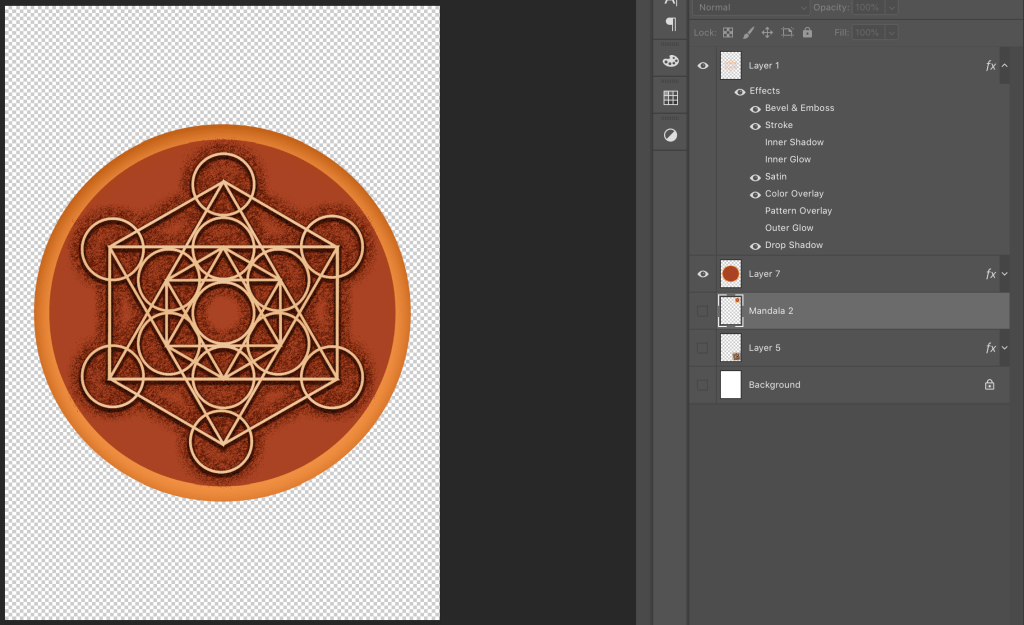
I have used different effect to create a 3d effect and some noise for the outline.
The layer “Mandala 2” is for the colour scheme
The layer “Layer 5” is the reference image.


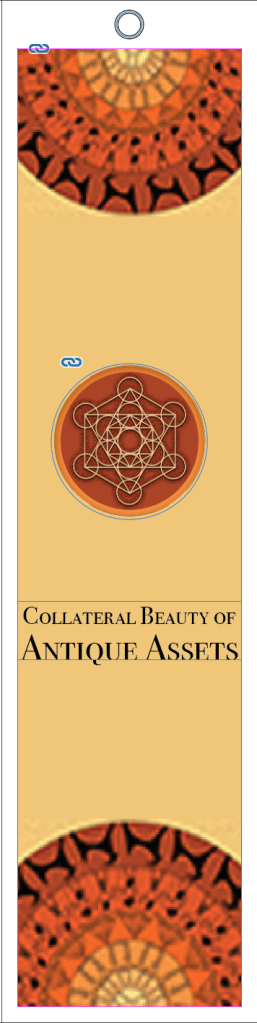
I ended up choosing the first one because I thought that would suit best with my layout of the book.
Bookmark
I had various options for Bookmarks.

Font that I chose to use in my bookmark.
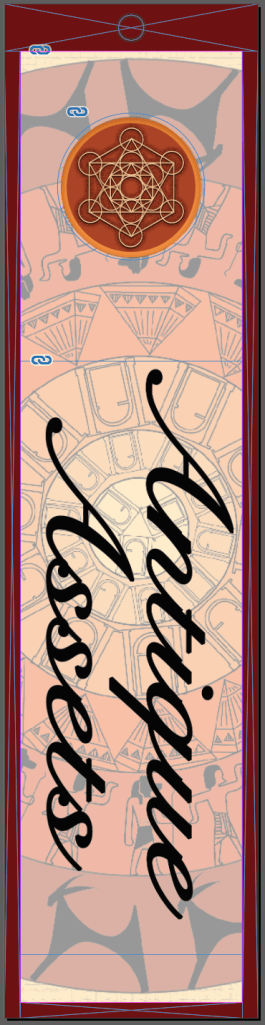
Background – Cover page with lesser opacity.
Icon – Illustrator and Photoshop
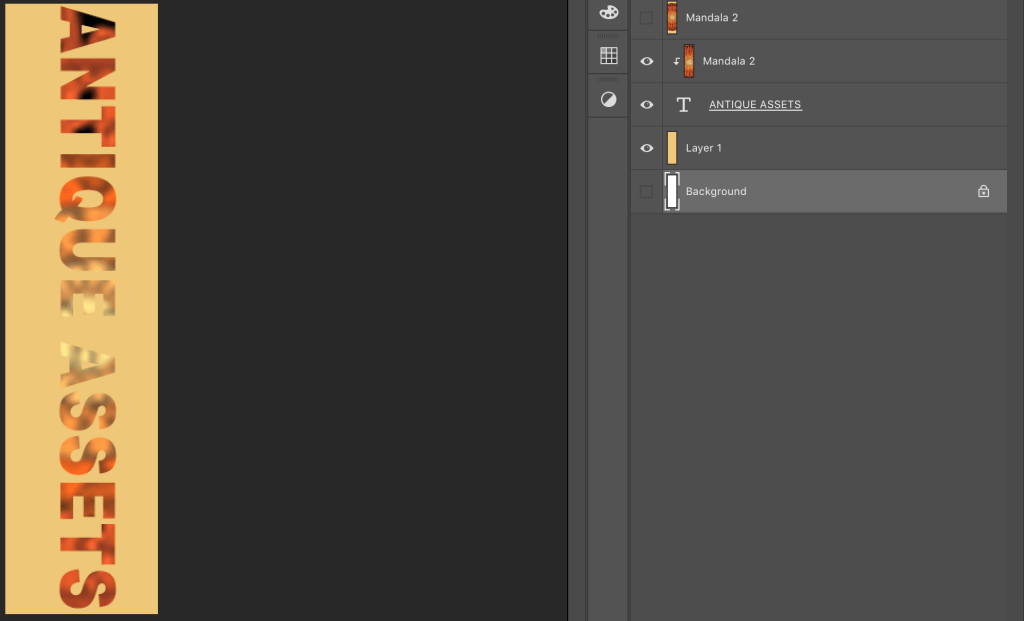
Font – Photoshop
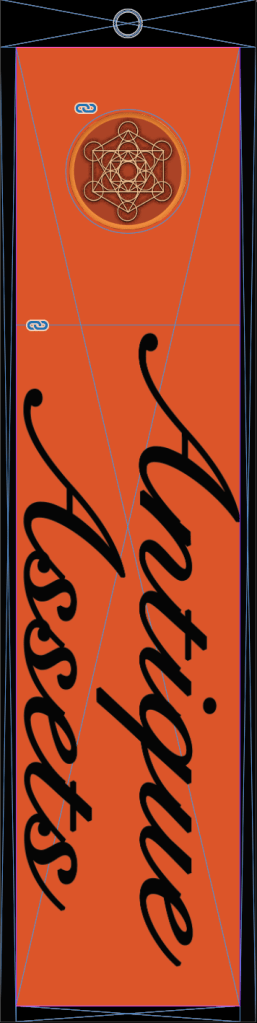
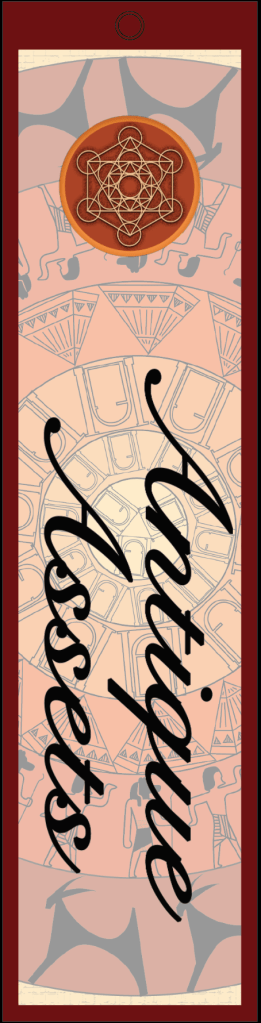
Option 3
Photoshop working file
Used Clipping mask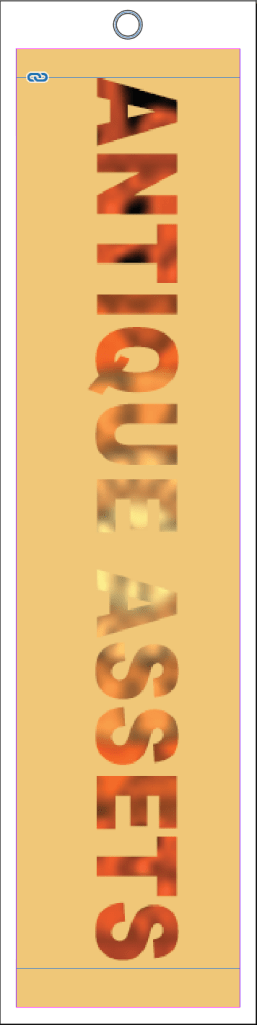
Option 3
Indesign
Edges – Cover page.
I was asked to go with the first option.
My final Bookmark –
-> Assignment – Start making the inner pages and the master pages with a proper layout as explained.
